Skip to content
 Do you sit at a desk all day?
Do you drive long hours?
Are you sick of having a sore back and not knowing why?
Here are some tips to restore your back to its former glory, and start feeling pain-free again. In this article I will be talking about the anatomy of the Thoracic Spine (upper/middle back) and then explaining the other areas you might be feeling pain, due to your upper back health. In Part 2 I’m going to list 5 very simple, hands-on, ways you can increase the mobility of your upper back and how to correct your posture. If you are someone that has back pain this article is for you!!
Why is Posture So Important? What Are the Benefits?
- Improves bodily alignment. When you stand, sit, move in a good posture your organs and better aligned. This includes your stomach which is why with a better posture improves your digestion.
- Helps with back and neck pain. When you have a proper posture your bones and spine can effectively support your own body weight. When you lose your good posture it puts pressure on your ligaments, tendons and muscles to do the same job. This extra work can lead to tension headaches, and back pain.
- Helps with breathing. When you are slumped down it reduces the range of motion of the lungs, leaving less room for the lungs to work. Having a proper posture opens up your lungs to work effectively.
- Makes you look taller and slimmer also look more confident and powerful. When you are slumped it makes you look shorter than you are, and in men gives them a beer belly profile. Standing tall with a proper posture helps improve your appearance. Having a confident and powerful posture shows you to be more dominant and authoritative. You see this in animals when a dog is submissive he or she will bow their heads to look small but powerful, dominate animals will stand tall and take up as much room as possible. This is commonly known as a ‘Power Pose’.
Anatomy of the Thoracic Spine
The thoracic spine is made up of 12 vertebrae, T1 to T12 and it goes from the base of the neck to the bottom of the rib cage. Knowing the segment of the thoracic spine and how it works is important as you learn how to care for your back problem. The thoracic spine is designed to move more than the lower lumbar spine so when your upper back locks up it forces the lower back to take more load which can lead to lower back pain.
The most common issue is having our back in bad posture. This could be due to your occupation or even sleeping habits. For example:
- Sleeping in the foetal position at night
- Spending long hours hunched over desks studying, reading, or computing
- Breastfeeding babies
- Holding babies in awkward positions
- Driving for prolonged periods
When your back is in a bad position for a prolonged periods, other factors come into play.
Many of us sit hunched during the day, this can cause several surrounding areas to also be affected by a tight upper back. Here are a few areas that can be affected.
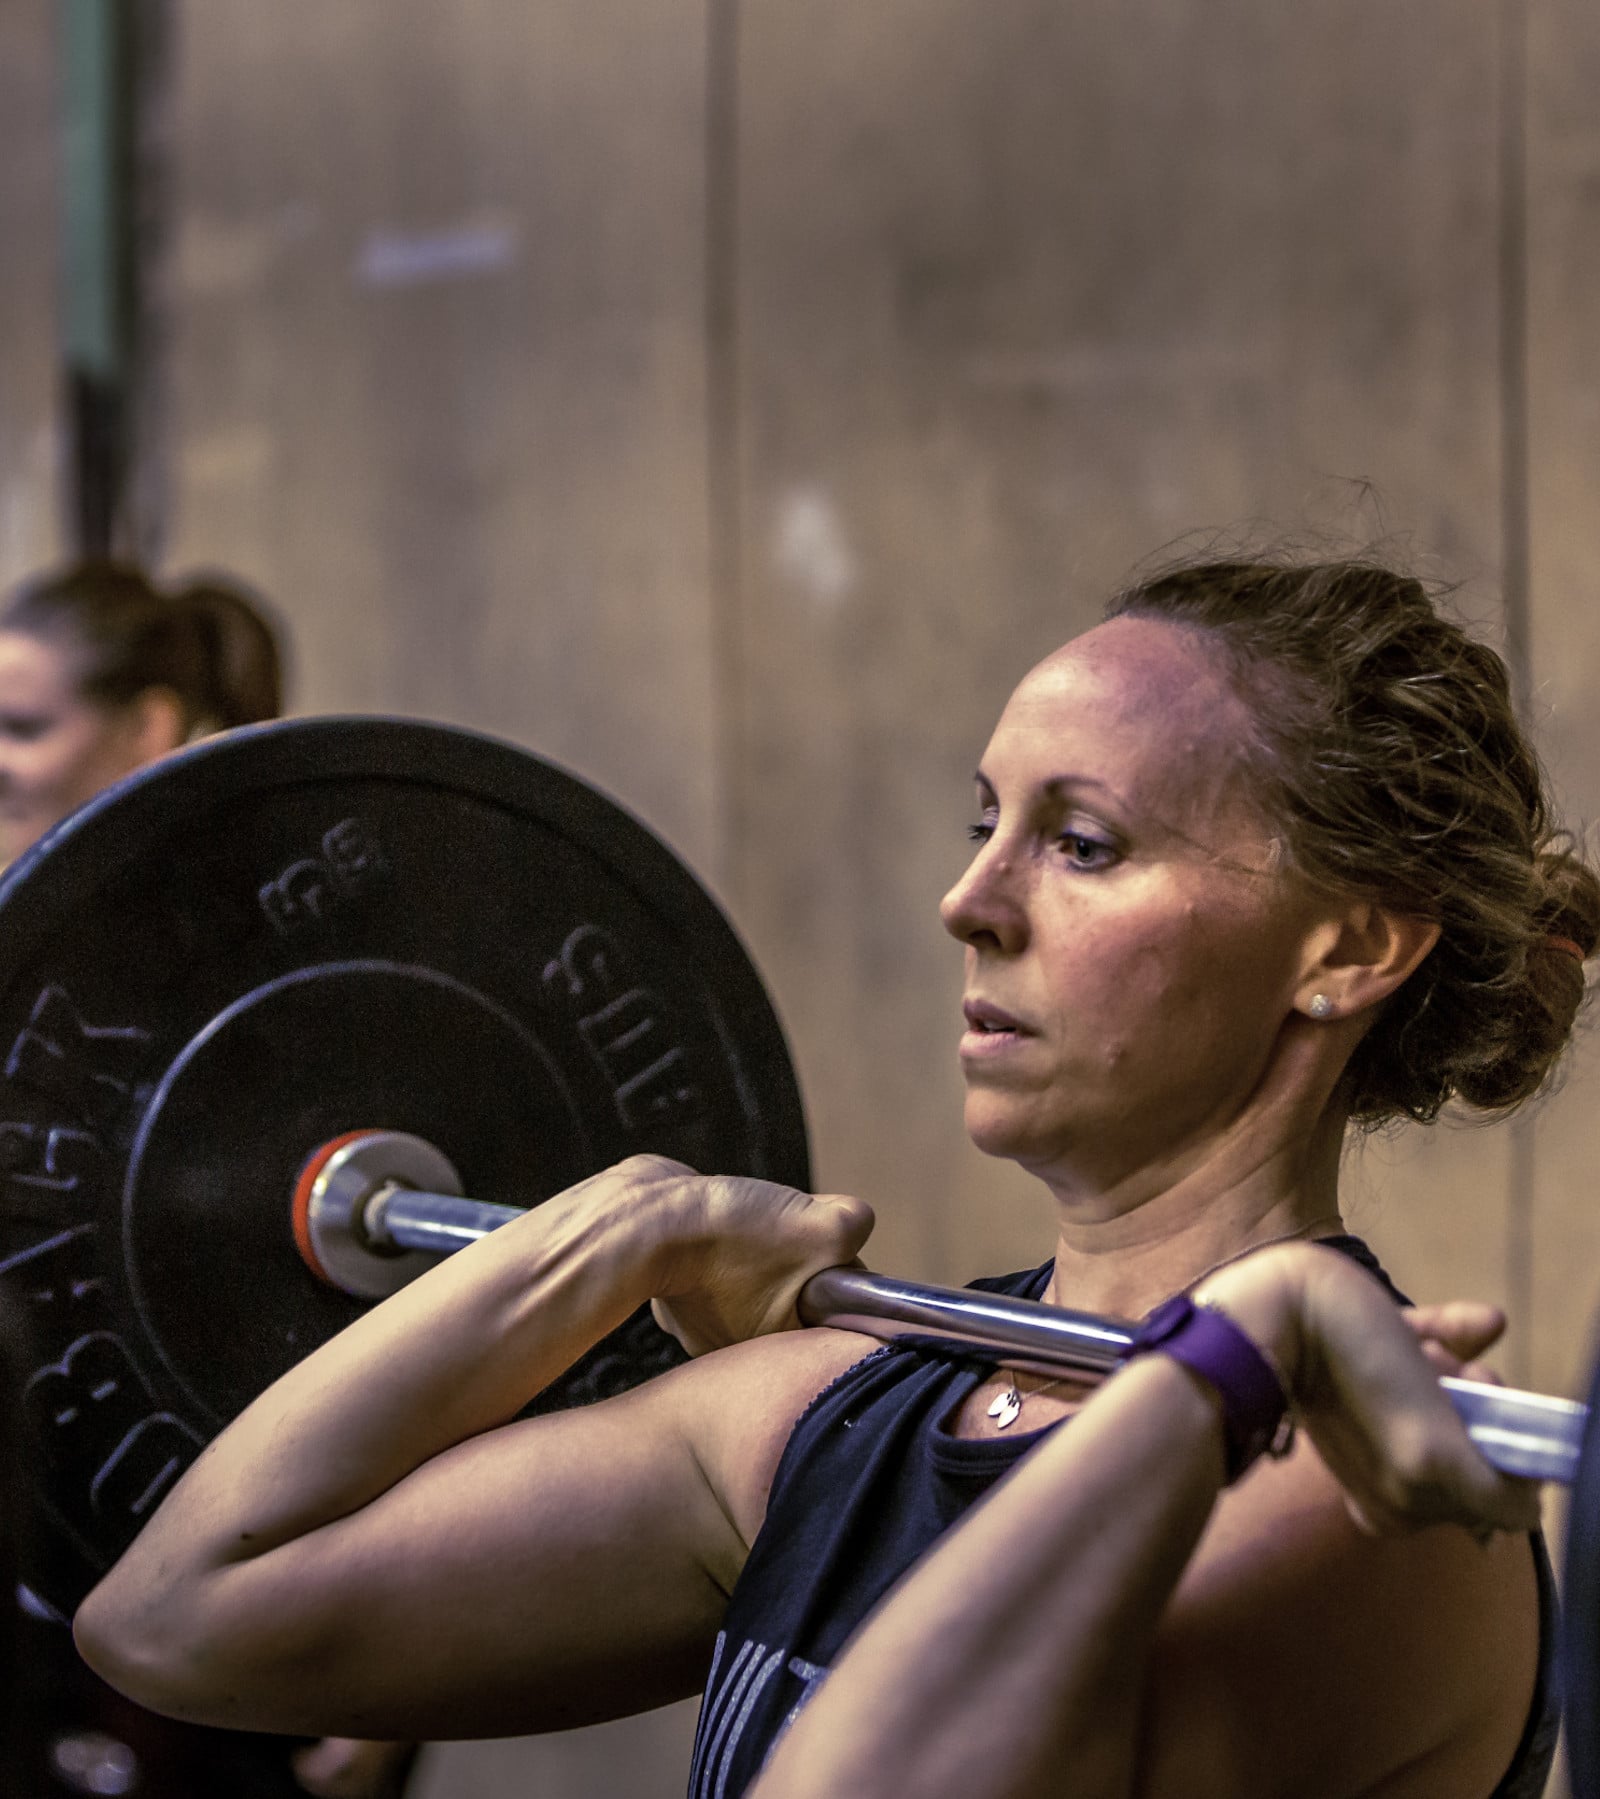
- Neck: In sitting, the neck and head move forward in a ‘poke neck’ posture (refer to picture above). Often creating neck pain, headaches and even migraines.
- Breathing: Any reduced rib and upper spinal mobility will affect the normal movement of breathing. In athletes, this may lead to reduced cardiac performance.
- Shoulder: Movements of the upper spine are required for good shoulder health. If both arms are raised in the air, it requires some thoracic spine mobility. If the upper spine is held in a bad position, the shoulder blades will also be move in a bad position. Doing this repeatedly, without fixing your mobility, is linked with shoulder joint malfunction and/or impingement, which leads to shoulder pain. It is certainly something that should be addressed, as shoulder injuries can take months to heal.
- Lumbar spine: Siting in a slumped position for extended periods of time can cause your pelvis to tilt forward or backward leading to lower back malfunction.
This slumped over position can also cause tightening of your hamstrings increasing your risk of bulging disc injuries and also stop your glutes from firing leading to your pelvis being weak and unstable.
If you notice yourself doing this or suffering from any of the above, try our 5 simple ways below to help mobilise your thoracic spine!
The thoracic spine’s vertebrae are synovial joints which means there are little sacks in between the vertebrae called synovial sacks which release synovial fluid when they get stimulated by movement, so when you mobilise this area you free up those joints to move better.
5 Ways to Increase Movement and Decrease Injury of the T-Spine
With a dedication to these 5 exercises for the lower back, you will feel like a new person.
Thoracic Foam Rolling
The point of rolling your thoracic spine is usually to get a little more upper back movement and help improve your mobility and with overhead lifts.
The key is relaxing your spine over the foam roller in several different segments along the thoracic spine.
- Place the roller at the middle of your back (the start of your t-spine). Give yourself a big hug, put your hands behind your head.
- First roll slowly back and forth relaxing your spine over the roller.
- Start by rolling up and down your spine making sure you relax over the roller.
- Secondly, rolling with your arms overhead, make sure your thumbs are pointing at the ground. Try to mimic the exercises we are trying to improve.
- Control your breath and relax into the roller.
90/90 Breathing
Fully breathing air in and out of your lungs is like stretching from the inside out. Nothing will improve rib and spine mobility better than opening your lungs over and over. It helps create a better relationship with the upper back and shoulder blades.
- Start by lying on the ground placing one hand on your chest and one hand on your belly.
- Place your feet on the wall making sure you have your knees at a 90° angle and hips at a 90° angle. Feet must point straight up to ceiling.
- Back should be flat on the floor. Do not arch your lower back. You may need to tuck your pelvis under to achieve a flat back.
- Breathe in through your nose for 5 seconds, filling your belly, feeling your lower back press against the floor, continue breathing so that your belly then chest fills with air. It should feel like your whole is spine stretching.
- Hold your breath for 5 seconds.
- Breathe out for 5 seconds via mouth.
- Try to keep your rib cage down and don’t allow it to flare up.
- Repeat 10 times x 3 sets.
It can take a few times to learn to deep breathing, as we constantly shallow breathing unaware. Keep practising, and don’t give up!
Quadruped Thoracic Rotation
- Keeping your tummy tight and with little movement in the hips and lower back, have one elbow touching the ground underneath you and your fingertips on your temples.
- Slowly rotate your elbow towards the roof, this will cause your upper back to rotate and open up. Only go as far as you comfortably can without rounding or arching your lower back. Then slowly return your elbow back to the ground.
- Swap sides and do the same with the other arm.
Joint Distraction Stretching
- Place a foam roller vertically in the middle and beneath your back.
- Have your feet hip-width apart, and closely tucked towards your bottom.
- Moving arms in a circular motion, trying to keep your hands in contact with the floor.
- Take approximately 5 seconds to complete 1 upward motion take the same time for the downward motion. Keep the foam roller in between your shoulders at all times.
Re-learning Posture for Strong Posture on all Fours, Seated, Standing, and in Movement
- On all Fours
- Seated Position
- Standing Position
- In Movement (e.g. Deadlifting)
You need a friend to help you with these learning drills.
Points of Performance (POP)
- We’ll start with the first progression, the on all fours position. Place hands directly underneath shoulders in a straight position, and have your legs hip width apart.
- Place a PVC pipe or broomstick along spinal column, making sure that is stays in contact with back of head, upper spine and tailbone (3 points of contact).
- The space between the PVC pipe and your body is known as ‘daylight’ and is measured by hand width. The space between the PVC pipe and the lumbar spine (lower back) should be about one hand width or ‘single daylight’.
- The space between the neck and the PVC pipe should be ‘double daylight’ being two hands width.
- If you can stand and re-create a good posture three times, move to the second progression, in the seated position.
- For the seated position, follow steps above and re-create the same good posture 3 times. Only when you can achieve this move onto the third progression, the standing position.
- The fourth progression is in movement, e.g. performing a deadlift. You must maintain good posture while performing the movement. Strive for 3 back to back movements (e.g. deadlift) with good posture.
Thank you for reading and we hope this helps you understand a little more about your thoracic spine and improve its movement.
Here’s to your better and stronger back!

Come in for a FREE Intro Session, discuss your SPECIFIC goals and see if we are a good fit.
You don’t need to be “in shape” to come to our gym, nor do you need prior fitness or training experience to achieve your goals with us.
The Free Intro Session is a chance to see our gym and get a feel for 365 Performance.
These meetings are one on one with one of our friendly and knowledgeable coaches and last for around 30 minutes.
Don’t be like others who spent years ‘thinking’ about it. They ended up just being another 5-10kg+ heavier and in worse shape than they are now.
Take action and complete the form on this page to organise a Free Intro Session with us now.